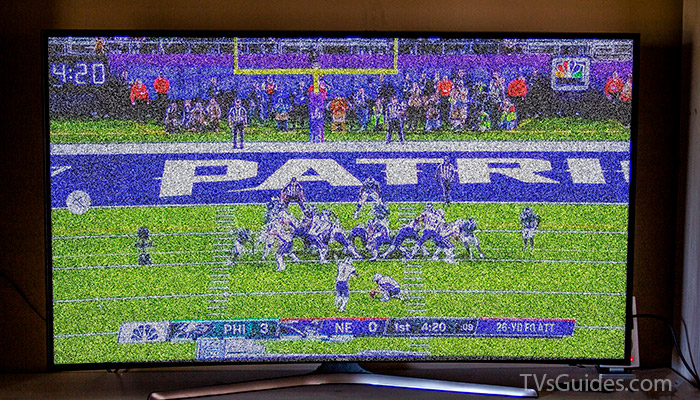
What do you do when you are relaxing on your bed or couch, and you see your TV screen get all grainy and pixelated? Poor picture quality interferes with your precious leisure time. Fortunately, there are several ways to fix this problem.

The progression of good television brings us faster data speed and a clearer picture. Considering each video source has its ideal settings, a television’s default settings do not always offer the best picture. So how can you fix a grainy TV?
Why is your TV grainy in the first place?
Understand the source of the problem. You have to know some of the most common causes.
- Have you recently switched to a better cable or satellite TV provider?
- Is the weather bad in your area?
- Is there any magnetic interference inside or outside?
If you recently shifted to a new cable or satellite TV provider, your setup configuration could be faulty. Bad weather also affects the TV reception and causes problems. Thunderstorms where a station broadcasts produce grainy pictures.
Standard cable channels are often grainy on your TV because of the incompatibility of your TV’s resolution capabilities and the analog signal’s resolution that your cable company broadcasts.
Troubleshooting
Before messing with any wires, turn the channels and identify if the grain is an isolated issue. If the grain appears on one channel only, your TV is not the problem. You can contact your satellite TV or cable provider and have them check it out.
However, if the graininess appears on most channels, you can still do what you can before calling for help.
TV Settings
Ensure that your picture is not stretched. You must look at the settings on your TV and make sure that the picture is not stretched. With your remote, browse through the different image sizes on the “aspect” button.
Set the picture size to 4:3. Reduce the picture size if you are watching a transmission or an analog channel. You can press the size button until you reach 4:3 picture size, and the picture has grey or black borders on each side of the square.
You can also opt to change the settings of your TV to show standard-definition channels at their original resolution.
Test out the various sharpness and picture modes of your TV. Try out sharpness modes on any channel that shows plenty of movement. Increasing the sharpness gives the picture better quality, but too many increases will give off trails in moving objects.
- On your remote, press the menu button.
- Press the left or right arrow depending on where the word “Picture” is.
- Press down and see the Picture menu.
- Adjust the sharpness to your liking with the up or down buttons.
On some TVs, the menu looks completely different, so just try to locate it as best you can.
Reduce noise
This is not to be confused with the volume of your TV. Check to see if your TV has digital noise reduction. Turn that feature on for a quick fix.
Troubleshoot Manually
If tweaking the features mentioned above did not work, then you can proceed to get your hands dirty with these tips.
- Unplug the TV.
- Unplug your TV for at least ten minutes and see if that resets the issue.
- Unplug your TV and plug it into a different outlet.
Your TV and its peripherals should be plugged into different surge protectors because there might be some electrical interference that messes up the TV’s picture quality.
Switch your cables
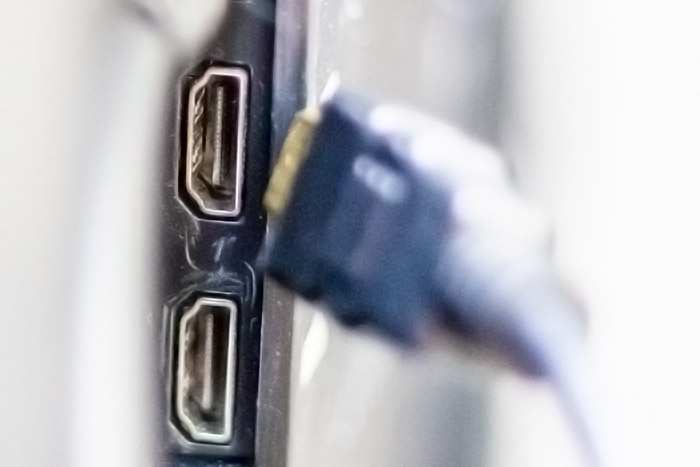
For cable boxes, attempt to change the connections. HDMI gives better picture quality than CVC or Component Video Cable. However, neither of them can give a decently sharp image. If you are still seeing a grainy picture quality, replace your cable.

Try connecting the LCD TV to the cable box with Component (Pr, Y, and Pb) connections. If digital cables are accessible, place the HDMI connection or the digital DVI connection. Doing this step can improve the picture quality.
When choosing DVI or HDMI for cable boxes, set the box’s output resolution to at least 480. Most HDMI and DVI inputs do not accept the standard analog 480i signals.
Tighten the cable cords and eternal connections that are directly connected to the TV.
Loose cable attachments cause weak to no picture quality. Find out if there are any visible damages to your cables.
Shift the TV around
Move any electrical devices away from your TV because it might be creating interference that is destroying the picture quality.
If you are not sure which appliances to move, they are usually just ones that produce noise or cold air. Functioning vacuum cleaners, humidifiers, and blenders can cause TV interference.
Raise the room’s temperature
It sounds weird, but many LCD TVs work best in certain temperatures that range from 41 to 104 degrees Fahrenheit.
Check the cable lines and outside antenna
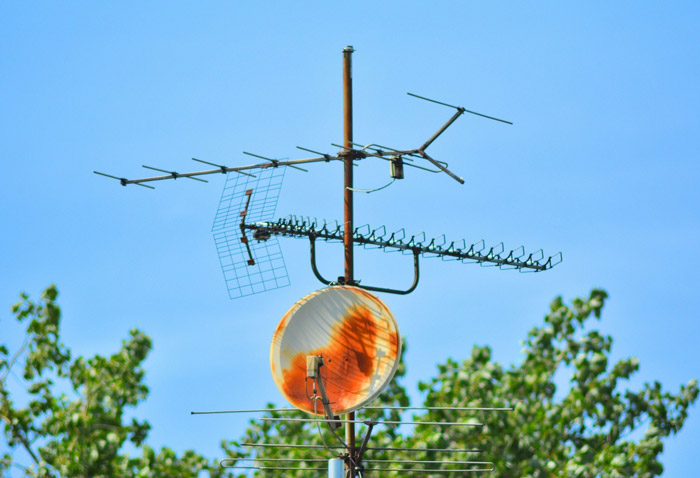
From a distance, detect any visible damages and loose connections on the antenna outside and cable lines. Make sure not to touch any of those parts. If you see any damage, you should contact a service technician for inspections and further repairs.

Do a Factory Reset
Do this as a last resort. A factory reset deletes all of your TV’s data and settings. Doing so removes all the custom settings including, channels, apps, and wireless network settings.
When is it time to call for help?
After trying everything on this list and seeing no results, it might be time to call the cable company. Contact a professional TV technician and have them inspect your TV or do necessary repairs.
Although there are ways to fix a grainy TV, it might only be a temporary fix. Do not try these steps over and over and expect different results. It can do more harm than good.
Be patient and do not attempt to repair something on your own unless you have received proper training. It can be dangerous to do it yourself. Good luck and have better picture quality ahead.
Leave a Reply